DIY Project: Headband Stand


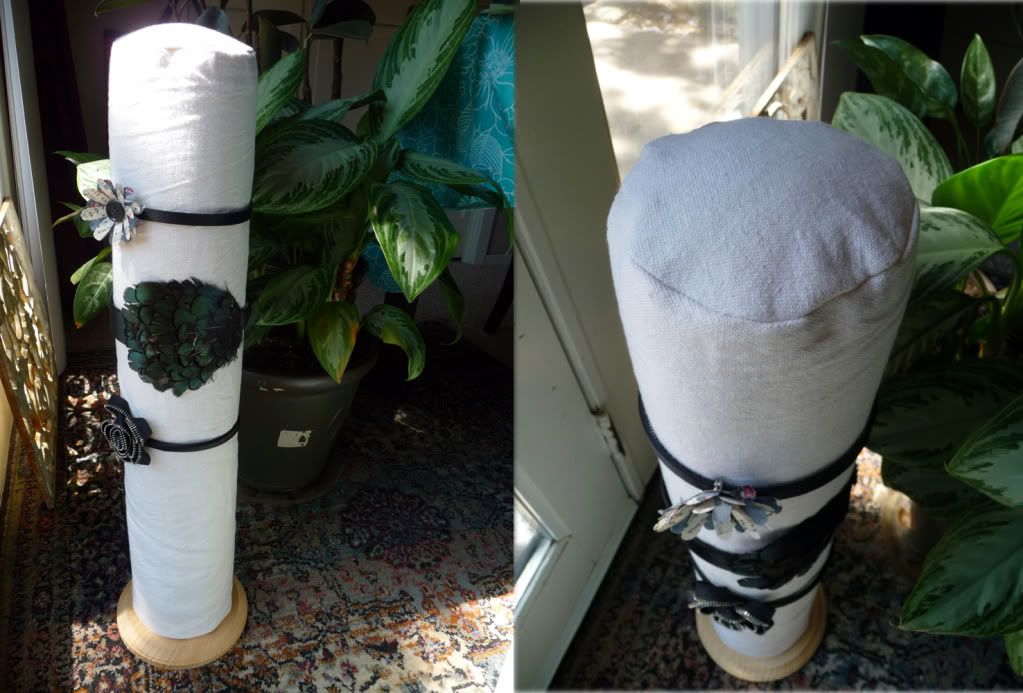
This is the first of several DIY projects I hope to bring to you that center around displays for your tables/tent at craft shows. I have some ideas for new displays that will enhance some of my products for this fall and once again I'm excited to share them with you all. This project is also great for home if you have a collection of headbands like me that you would like to show off or don't know how to store properly.

Photobucket


What you need:
  • 1.5" or larger diameter wood dowel cut to desired length (mine is 24" but you can make a smaller version if you wish to use this at home on your dresser, etc.)
  • 6" or larger round wood base with a minimum 1/2" thickness (mine is a pre-cut wood base from a craft store)
  • quilt batting
  • fabric
  • glue gun
  • duck tape
  • drill and a 2" wood screw
  • sewing machine (optional)
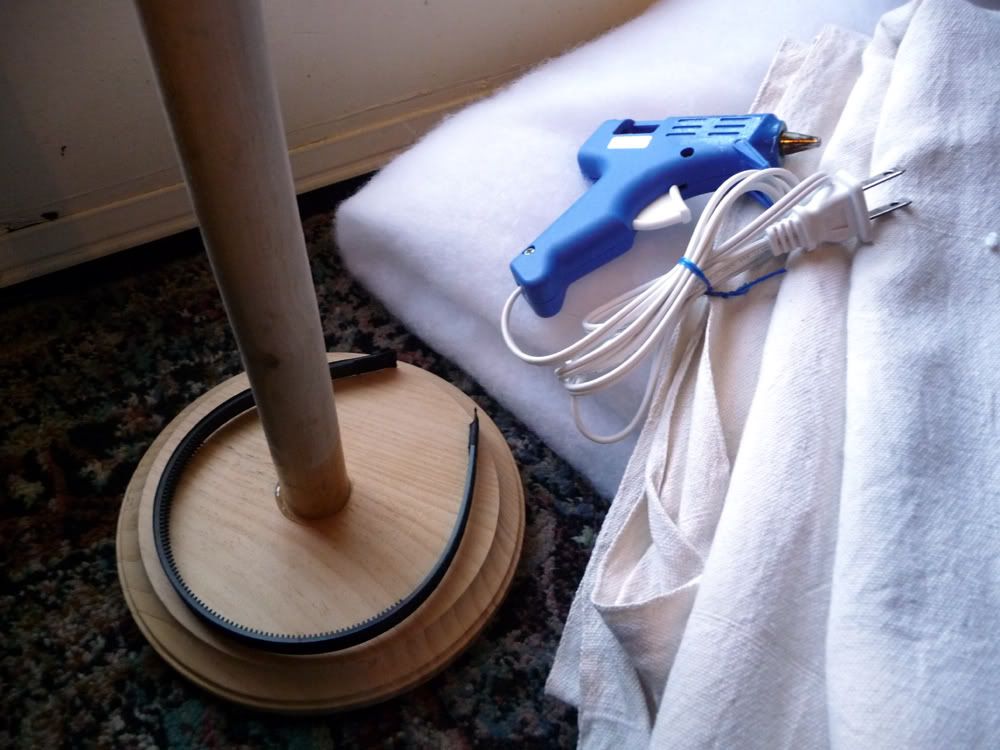
The first thing you want to do after you have cut your wood dowel to desired length is to attach it to the base. Find your center, pre-drill a hole through both pieces and attach with a 2" wood screw. I used some E6000 glue at the joint to help increase the strength.

E.A.S.T. at Flatfork Studios


Several Austin Craft Riot members setup shop at Flatfork Studios for the 10th annual East Austin Studio Tour (E.A.S.T.).  E.A.S.T. is a free self guided tour consisting of over 300 artists located on the east side of Austin. It happens once a year for 9 days in November, spanning over two weekends. Its an opportunity to discover and support local artists, visit their studios and learn about their inspirations. Faith Schexnayder is the proud artist of Flatfork Studios and is known for her beautiful statues including the large blue dog above and the all famous batcow of Austin.  The neighboring studio also offered a lesson in glass blowing to all ages. 


I shared a booth as usual with my friend Kelly from GemJunkie


Our team booth at Flatfork was organized by Sam from Nepenthe's Bathtime. She had some great new products including Bath2Go gift sets and mini robot soap. 


Other team members who set up included Cathie from Sweet Wolf, Renee from This Creative Life & Robo Roku and Julia from Pixie Worx & Aberrant Crochet.


Austin Craft Riot Holiday Show


Austin Craft Riot's 4th Annual Holiday Show kicked off November 12th at the Marchesa Hall in Lincoln Center. The show was filled with amazing handmade artists from Austin, Houston, San Antonio and more! For a full vendor list of artists who attended the show click HERE

It was a great weekend filled with festive Christmas music, decorations, and dedicated small business shoppers. Twenty five goodie bags were given out each day, filled with featured products from all of our vendors. Laurie from Mod Girl Designs set up a photobooth in the lobby and took pictures for the weekend with lots of fun props (including one of my mini mustache pillows!). You can check them out HERE. The lobby also housed two make and take tables sponsored by The Wondercraft and Audrey Lopata Illustrations. They provided fun projects for all ages including Christmas cards, tags and cat fairy ornaments. The weekend ended with a raffle of goodies from some of our lovely vendors and sponsors

Here are some fun pictures of our shop and photobooth. Enjoy!


photos courtesy of modgirldesigns.com

DIY Project: Jewelry Frame Display


Here is another fun, easy project you can make for your shop or home. I made my first set of frames years ago to display all my fabulous earrings in the open so it was easy to pick and choose what to wear. You can make 1, 2, 3 or more frames in different sizes to suite your needs. I made this set of three frames for a friend's birthday. They are all second hand frames I picked up at different times and just painted them to coordinate.

Photobucket 


What you need:
Frames (as many as you want in different sizes)
Paint
Mesh screen (Not household screen but larger gage wire screen from the hardware store. It comes in various size openings like shown below.)
Wire cutters
Staple gun
I bought frames without glass so I didn't have to waste it. If you find a frame you like that has glass you can dispose of it, give it away on Craigslist or think of something creative to do with it. I picked out three coordinating frames, two that had gold and one plain brown. I painted the large frame black and antiqued it then painted part of the small frame in black to match. I also recommend finding frames that are solid wood and have enough depth in the back to staple to.

DIY Project: Table Top Shutter Display

As promised here is another DIY project I just finished for my booth display. It was really easy to make and works great to display my vintage game jewelry. I inherited these two small shutters from some friends of mine and they have been sitting in the garage for two years. You can find shutters for cheap at second hand stores, yard sales, or Craigslist. You may also be lucky enough to find a good pair of shutters or shutter closet doors on the side of the road during a large item city wide dump or house renovation.
Photobucket


What you need:
  • 1-2 pairs of window shutters (Size depends on what you intend to display and how much. You can also use wood shutter closet doors and cut them down to make larger table top displays)
  • screw driver
  • hinges and screws (if your shutters don't already have them)
  • screw hooks or string
  • paint (as necessary to spruce up or change the color of your shutters)

To start you'll want to clean your shutters and paint them as needed. Mine came with a natural vintage white finish,which I liked, so I left them alone. However, if you aren't as lucky to find something you like as is you can create your own vintage finish or paint them bright, fun colors like the samples below. If your shutters didn't come with the original hardware you'll need to purchase the appropriate size hinges before completing the next step.