Get Hammered @ The WonderCraft


Newborn baby and family made their second outing into the real world (outside of hospitals and shopping at Target) last night to visit the WonderCraft fashion event "Get Hammered". Our first venture was Austin Flea at the Highball back in July. We figured being a crafty family we better start the kid off early. For a few hours last night new mom and dad were able to enjoy a few cocktails with friends while baby Gabe enjoyed the stimuli of new sounds and color. 


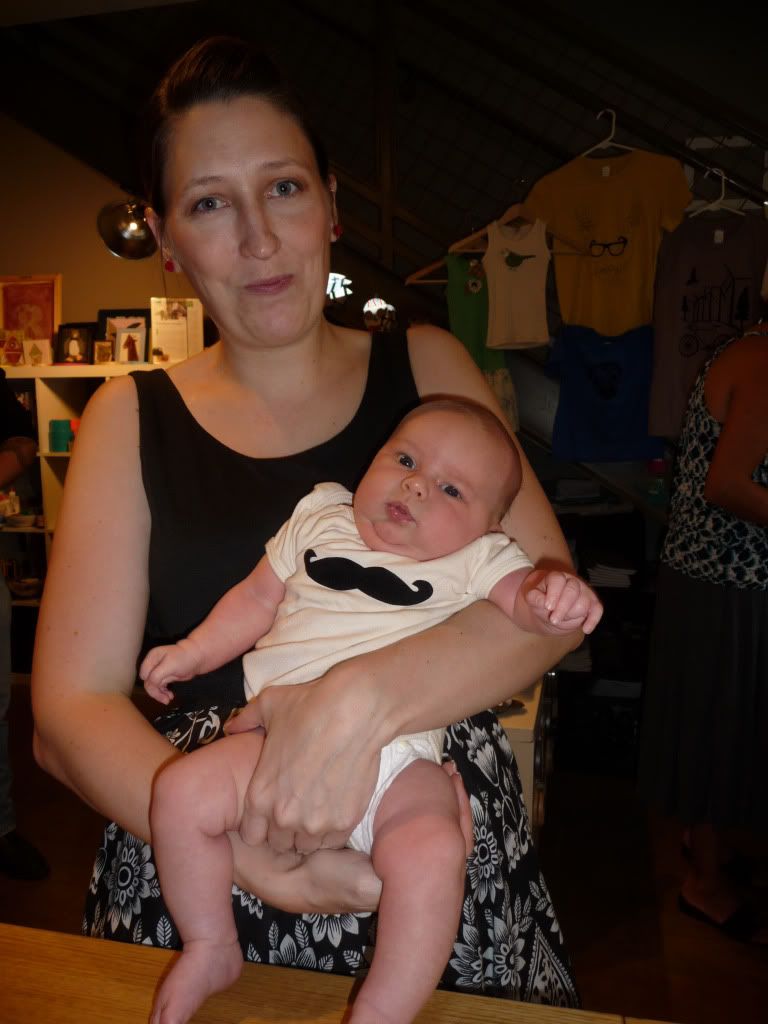
Gabe sported a mustache onsie by Beth of Paired Hearts in support of the handmade goods sold at the WonderCraft.

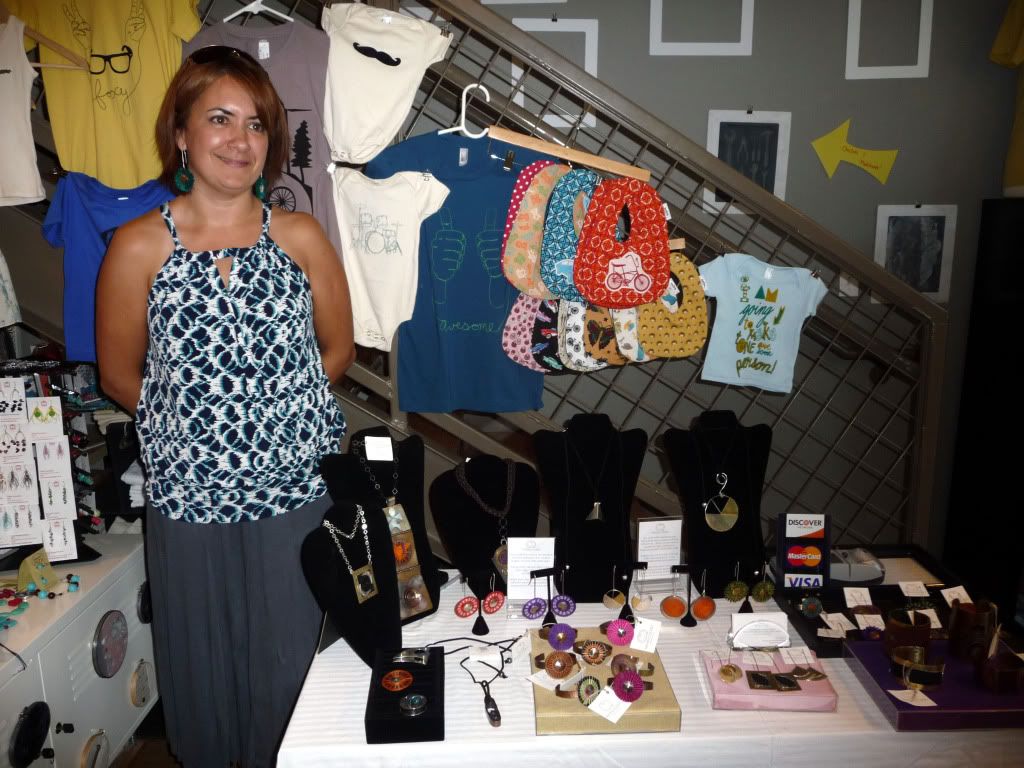
The WonderCraft hosted artist Teresa Basa and her beautiful collection of jewelry for Austin fashion week. Teresa was originally born in Chili, then moved to California and currently has a studio in Round Rock, TX. Her jewelry is made of traditionally dyed Chilean horsehair, copper, brass, recycled silver and re-purposed leathers. You can find her products online at teresabasa.com, at Parts & Labor or the Mexic-Arte-Museum here in Austin.


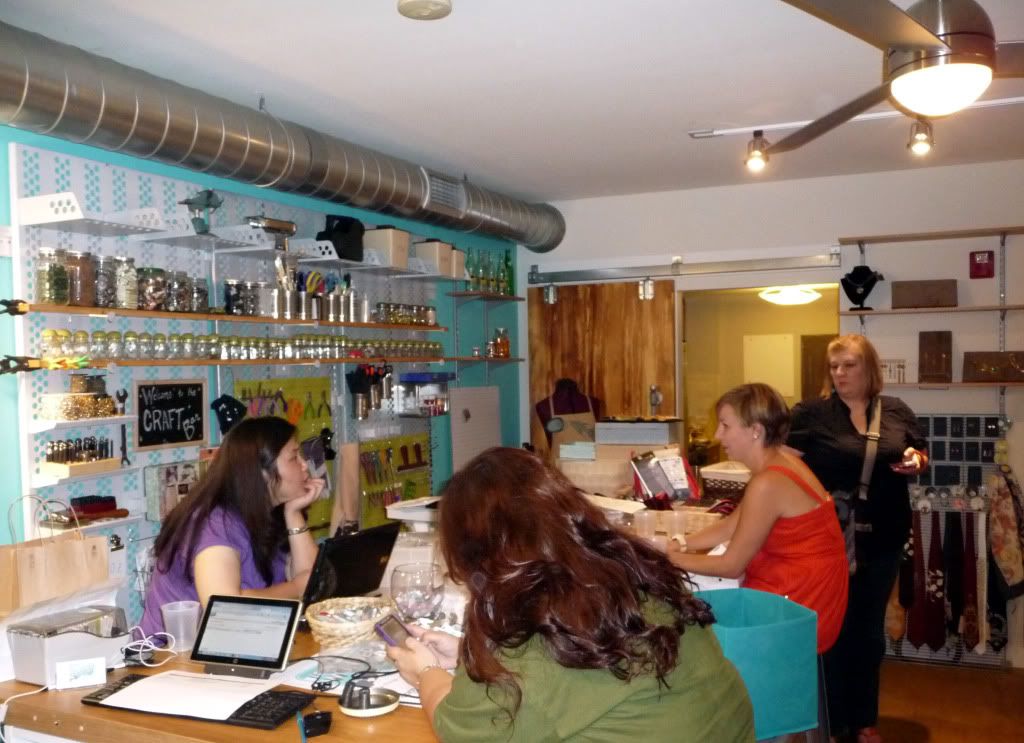
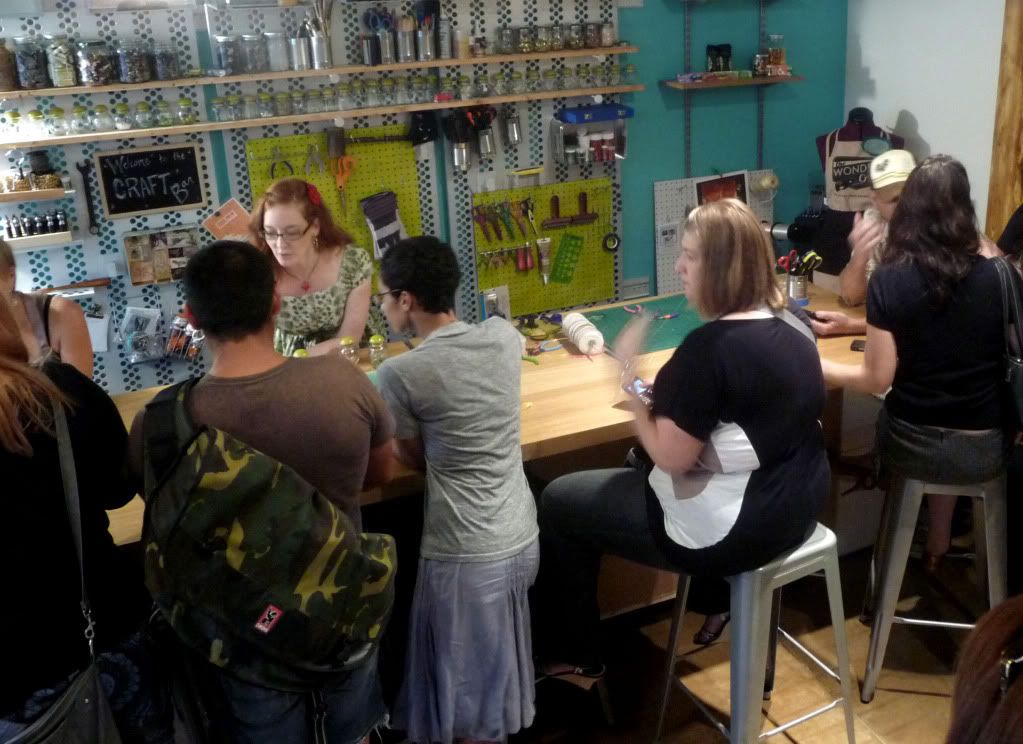
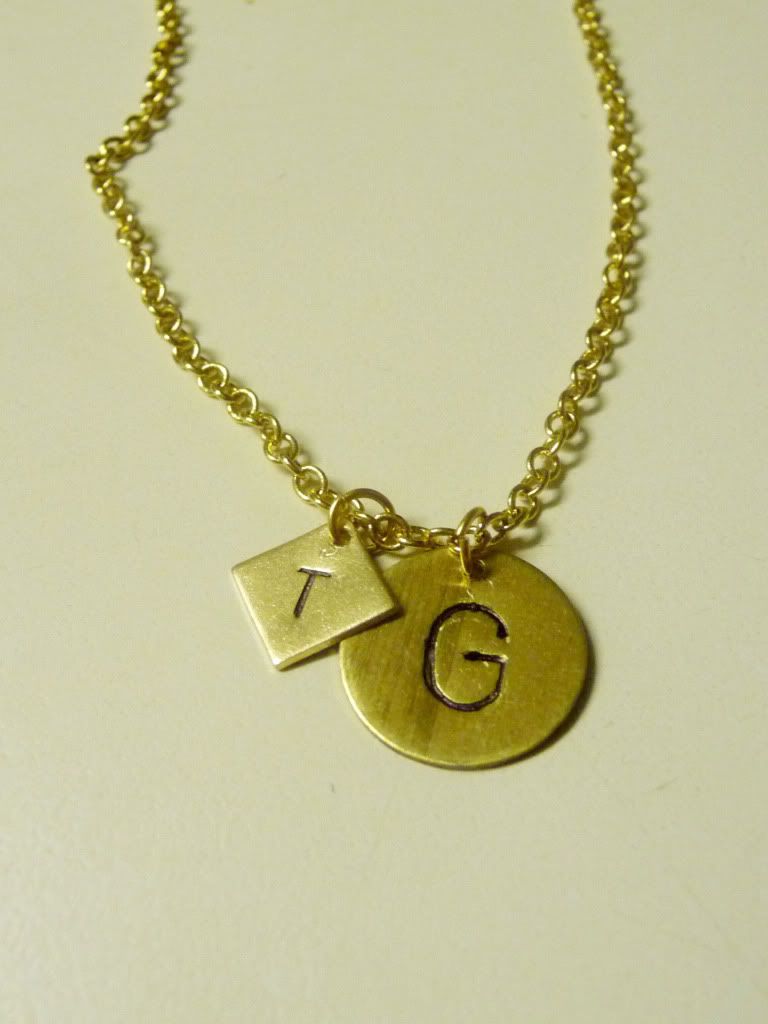
The "Get Hammered" event allowed guests to create their own personalized metal stamped jewelry in demonstration of the WonderCraft's new Craft Bar menu of make-and-take projects now available to the public. You can find a full list of the standard make-and-take projects available at the WonderCraft HERE. This is the adorable metal stamped necklace I made. It is a play off my son's and my initials, TG and GT. I love how it turned out with the letters highlighted in marker giving it an antique look.

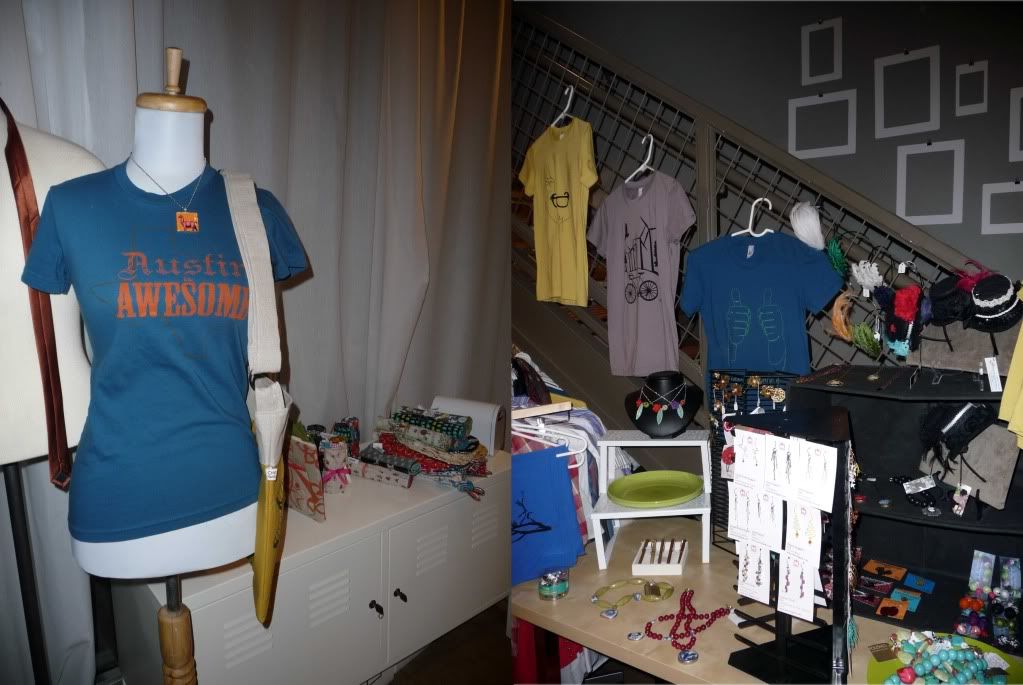
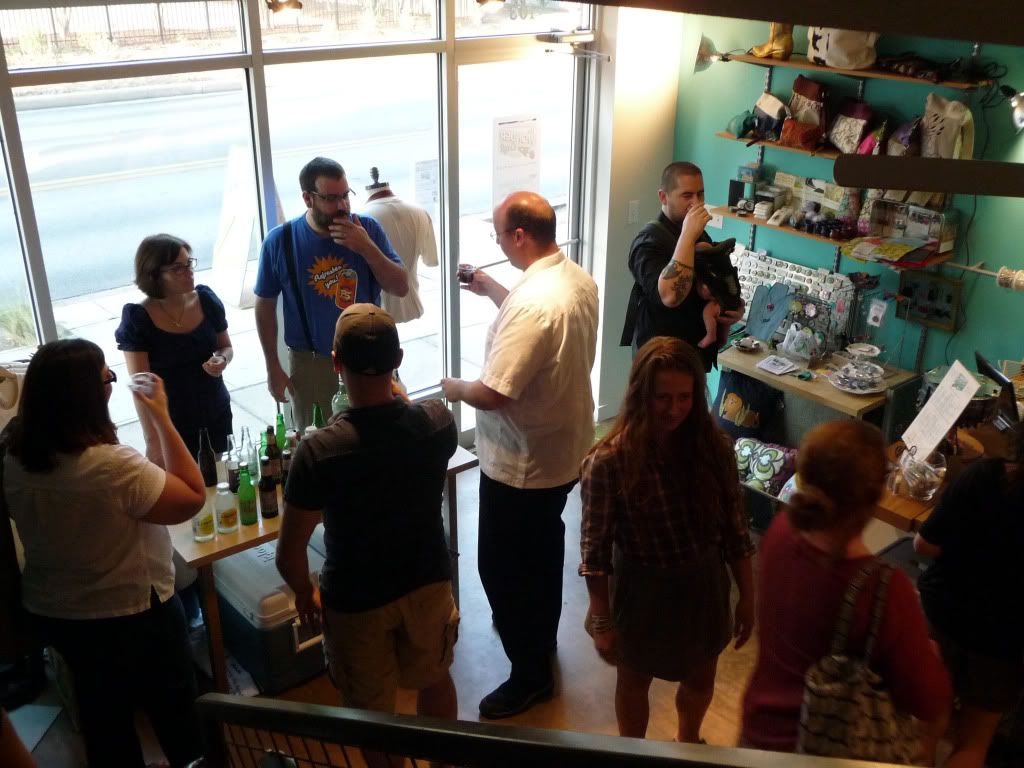
In addition to Teresa Basa the event featured several other vendors and artists including specialty sodas by Rollerfeet Sodas (now available at the WonderCraft), CHOCBite build your own candy bars, and Christie Mathis Ultralicious Photography.


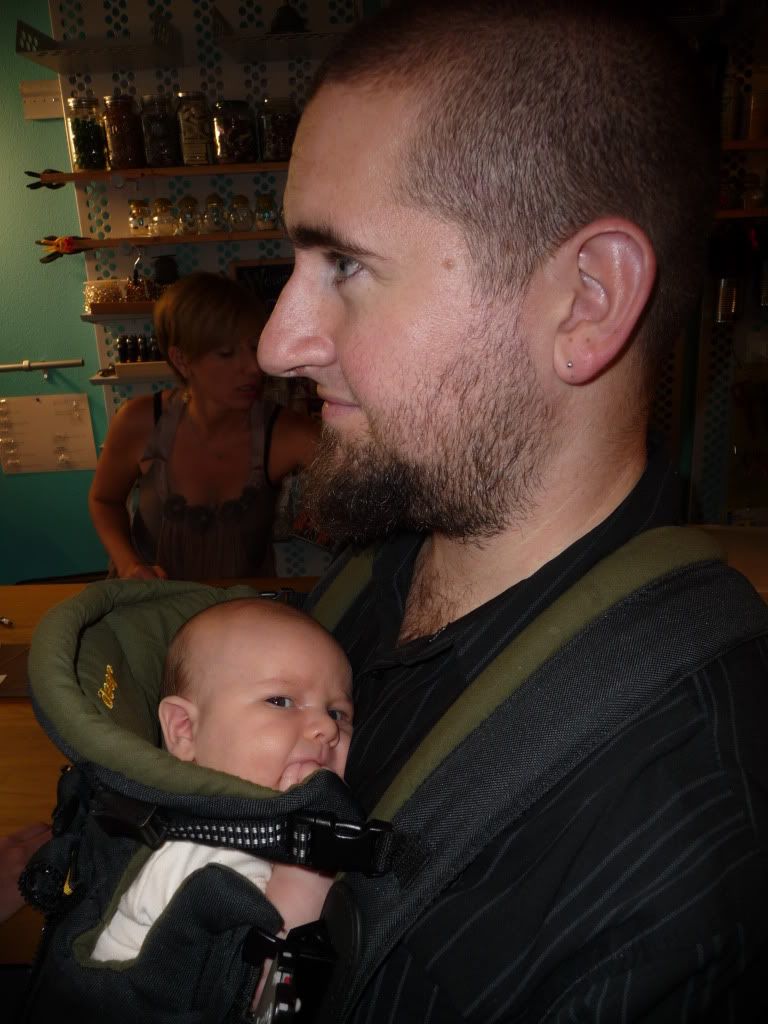
Hubby and baby hanging out while I made jewelry and chatted with friends. I had to laugh at the fact Gabe kept himself content by eating his fist half the night because we forgot his pacifier. His dad went home with a huge slobber spot on his nice shirt.


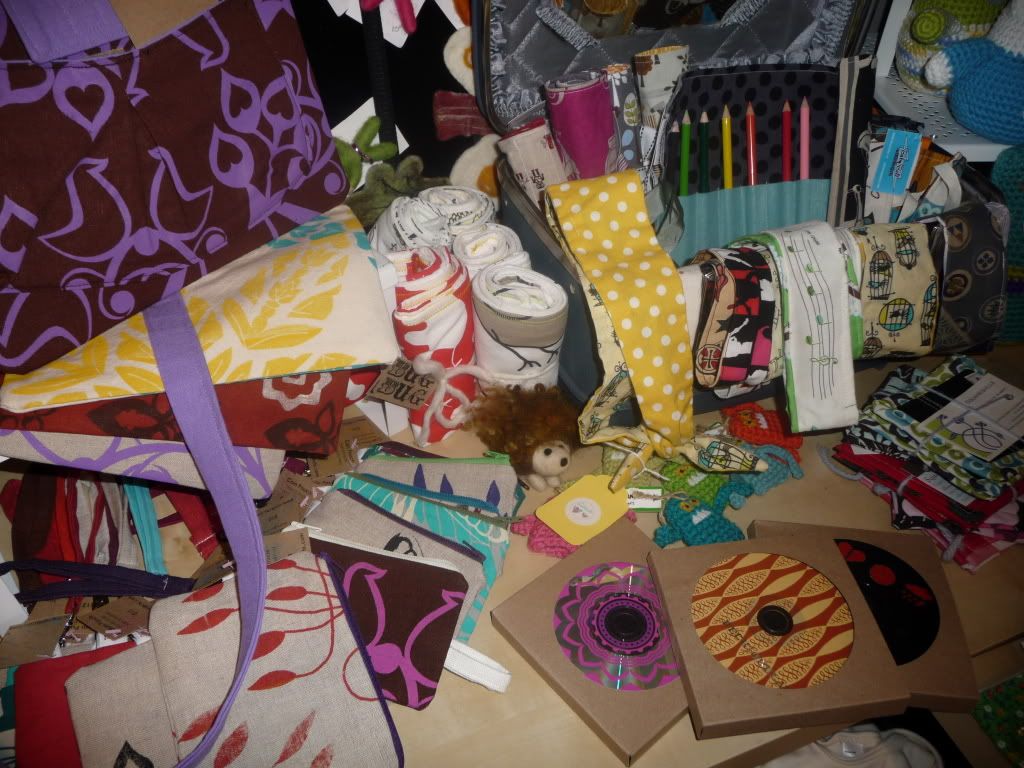
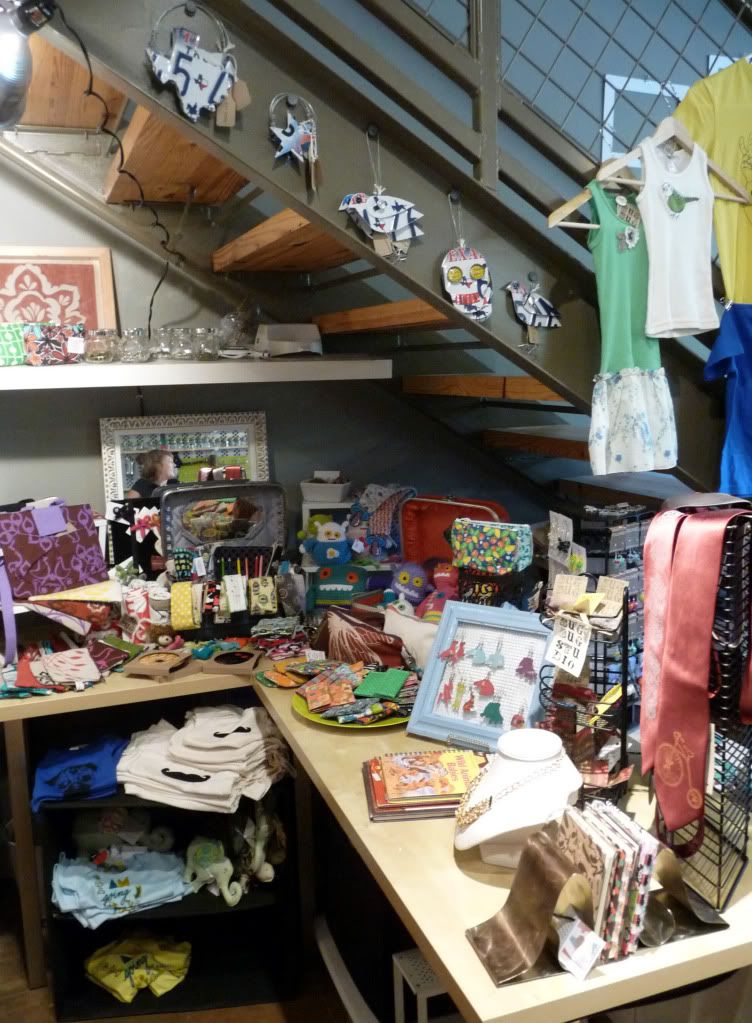
Here is a preview of the awesome goodies available for sale at The WonderCraft including my recycled license plate ornaments and our new CD coaster sets featured below. Make sure to stop by and check out all the amazing handmade products available for sale from artists such as GemJunkie, Polished Two, Craft Chi, Paired Hearts, Baby Bolt, Lip Glossery and many more.


Airstream Love


I have always wanted an airstream trailer in my back yard to makeover into a luxurious office space. If you have too here are some beautiful photos for inspiration...

via Re-Nest


And we can't forget our own local inspiration...the Wondercraft

Wondercraft Grand Opening

The Wondercraft's new store is open for business today! After a long night of preparation and shorting vendor goodies the new brick and mortar store located on the corner of Cesar Chavez & Comal is now open. This adorable live-work space is centered around a craft bar where you can come, make crafts and hang out with friends. The space also features a variety of local handmade products available for sale. I recommend checking out one of their two open house events for Austin Fashion Week.

Re-Fashion
Monday, August 22, 2011 from 5-9pm
At the WonderCraft's brand new brick & mortar you will be able to 'refashion' something old with a screen printed design, so bring t-shirts, bags, or any item in need of some flair and we'll screen print it for free at the new Craft Bar. We will also have some cute things to purchase if you can't make up your mind what to bring.

Get Hammered!
Thursday, August 25, 2011 from 5-9pm
Among other things you'll have the chance to make personalized metal stamped jewelry.

Both Events will feature artist Teresa Basa who will doing an encore demo of her riveting skills and metal texturing while incorporating horsehair on the pieces created. They will have a selection of chocolates from CHOCbite, specialty sodas by Rollerfeet Sodas, photobooth by Christie Mathis, free drinks and other snacks.

More info, click HERE!

Guest Blog: ReClaimed Punk


I think part of what appeals to me about the art of reclamation and up-cycling is the idea that we are not only taking items and material that would otherwise end up in landfills, rivers and oceans, or even the very air we breathe, and making use of that stuff, but we're also being self-sufficient, taking back a piece of the drive and ingenuity and energy that allowed this nation of misfits to prosper yet has been monopolized by the corporate. And the perfect theme to capture this though is, naturally, Steampunk!

Steampunk idolizes the individual, and at its brass core is a union of old and new, of creative theatricality and cold, hard function. Also, it's super cool, yeah? Following are a few of my favorite Steampunk projects over at Instructables, and what I most like about them.

Steampunk Goggles: These are not the most interesting, or coolest looking Steampunk goggles to be found on the internet. No, what I like most about these goggles is the simplicity of the project and the creativity on display. Anyone can replicate this design, and it is easy to replace bits and pieces to come up with your own cool eye wear.

Steampunk Finger Sylus: I love everything about this project. It's simple, the components are easy to find, it has a unique look, and is surprisingly functional. Plus, I can see a dozen other cool projects to make out of this, too. You can see another example of this project here.

Steampunk Portable Harddrive Case: Now to go in the other direction - There is nothing simple about this project, but dang does the finished project look cool. I love the concept, but would like to see it done with reclaimed parts rather than craft store parts, but there is no arguing the success of the design.

Steampunk USB Flash Drive: A fun, flashy piece of steam punk (sorry, couldn't help myself). Beautiful to look at and much more durable than the original plastic case. You might get weird looks when you plug it into the office PC to transfer those work files, though. But isn't that part of the fun?

Steampunk Mr. Potato Head: Tired of all this function? Time for some pure fun? Then how about this modded Mr. Potato Head. He is way cooler than what I used to play with growing up. We used actual potatoes! But maybe that's just 'cause we're from Idaho. Anyway, this is a fantastic example of the sort of creative re-construction I've been showing you, and I hope it can inspire in you some fun, fresh ideas.

Thanks to the many fine folks who contribute to Instructables, and if you're interested in Steampunk, know that this is only the tiniest tip of an enormous clockwork submersible. If you have other favorite punk projects, or have created something yourself, tell us about it in the comments.

Baby Shower/Party DIY Project

Here are two adorable, easy decorations you can make for any party. I made these for our baby shower which is why they are themed with woodland creatures. You can use any kind of fun art, images or text for these projects. I got these pre-made digital images from a seller on Etsy.
 
PROJECT I: MINI GLASS CLIPS
 
Because we wanted to use real glasses for the party I wanted to make some kind of glass/wine charm that everyone could use to keep track of who's glass is who's. We don't have enough long stem glasses to use my standard wine charms so I thought it would be fun to make something that could clip or sit on the edge of any glass. These are really simple to make...


What you need:
1" round images printed on cardstock (# depends on how many you want to make. I made 20)
mini clothes pins from a craft store
1" craft punch or scissors
packaging tape
hot glue gun
Once you have your images printed the first thing you want to do is use the packaging tape to seal both sides of the paper where you are going to punch/cut out your images. Next, punch/cut out your images into 1" circles. After you have all your images ready simply hot glue them onto the tips of the mini clothes pins and voila! You can stack them neatly in a jar for storage as I've done below and when you want to use them just clip them along the edge of the jar for people to grab.


PROJECT II:
MINI GARLAND


To match my bunting and other decorations I made this cute mini garland out of the same images I used on the glass clips. Mine says "welcome" but you could make any words, phrases or images to go along with your party theme.


What you need:
1.5" images printed on cardstock (# depending on how long you want to make it. Mine is 15 circles, roughly 3.5ft long)
coordinating paper for backing (I used thin paperboard from the recycling)
1.5" and 1.75" craft punches or scissors
string
glue
Punch/cut out your 1.5" images and enough 1.75" backs to match. Tie a loop in the end of your string and start your first circle a few inches from that loop. Simply glue the string between your backing and images spacing them approximately 1-1.5" apart as you go. I went back and glued additional 1.5" images on the back of my circles to make it double sided. For an even cleaner look you could double the backing and glue the string between the backing and place your images cleanly on the fronts (this just makes the bump of the string less apparent). When you've finished gluing all your circles, cut your string and create another loop a few inches from the last circle and your done!


I had fun making both of these projects and am happy to share them with you. If you decide to make your own in the future don't forget to send a picture!